The famous World War II ‘Dig for Victory’ campaign encouraged British people to get around food shortages by growing their own. It was so successful, parks and bomb sites were ripped up and turned into vegetable patches. In the late 1940s there were an estimated 1.4 million allotment sites in the UK.
Yet being forced to grow their own food turned many of the post-war generation off allotments. From the late 1960s onwards, frozen food and ready meals became the norm, and Britons fell out of love with allotments.
That meant many councils sold off allotments during the 1980s and 1990s as people simply didn’t want them. The total number across Britain is now estimated at around 300,000.
Recession times
Happily, recent years have a seen a massive increase in their popularity. Increased interest in sustainability and fears of climate change have been key factors in this increase. Add in the financial collaspe of 2008 and the demand to be self-sustaining grows. Sales of grow your own vegetable plants has been steadily rising since the start of the recession in 2008. Something that also happened during the previous two recessions.
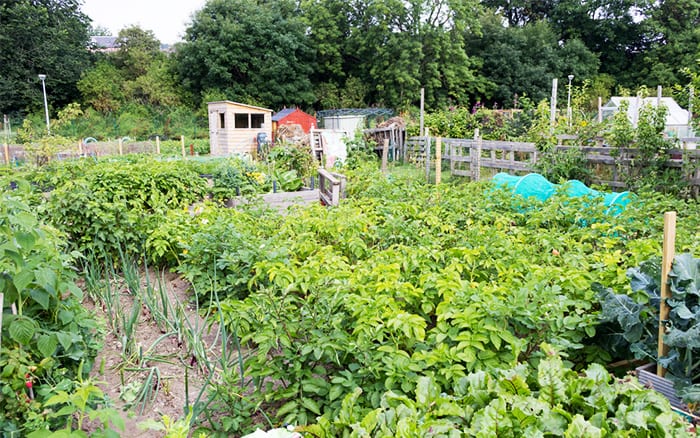
They are especially important for people without much garden space or the two million Britons living in flats and apartments without a garden.
Now there are often long waiting lists for an allotment. Getting ahold of one can be like finding the goose that laid the golden egg. However, according to the National Allotment Society, almost 2000 new plots were built in 2013. So get down to your local council and get your name on the list!
Still not convinced?
The average family spends over £56 a week on food and drink. And we’re buying less fruit and veg than before the recession, as we all try and tighten our belts.
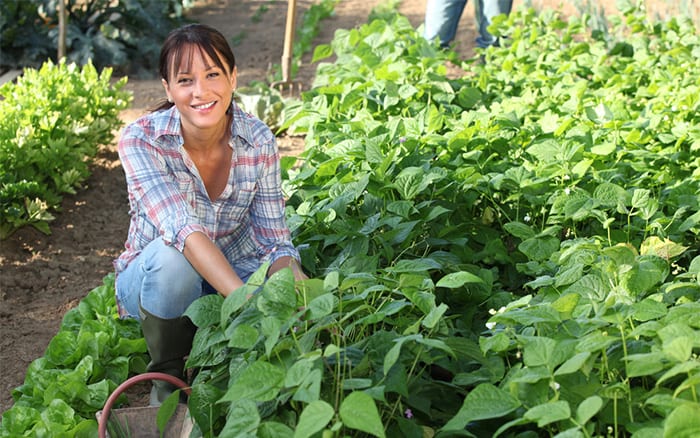
An allotment is the perfect solution for a healthier diet for all the family, bringing you fresh, cheap produce all year round. Plus, you’ll save on that gym membership by getting free outdoor exercise!
Renting a plot
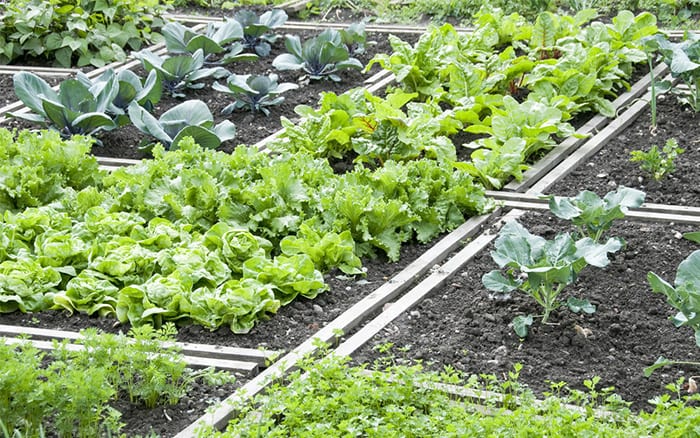
Allotments are rented in rods. A rod is about 25 square metres, and you’ll be charged by the rod. Prices will vary from council to council, but you’re probably looking at around £100 a year to rent five rods. Most councils have discounts for OAPs.
That’s a fair amount of space – 125 square metres. It’s roughly half the size of a standard doubles tennis court – and will give you a lot of planting options all year round.
And it’s cheap!
If you spend around £50 on seeds and plants to get started, you could be seeing the financial benefits in a year. By years two and three you’ll be enjoying real savings.
Plus, there are always deals. One year you’ll find onion plants going cheap, another year it might be carrots.
You just need to be clever with your planting. A single crop of spuds should be planted in several stages so you’ve got a continuous supply, rather than one big glut. You could practically make back your seed money in a single season.
Add in some fruit trees or bushes, which will give fruit for years, and you’re laughing to the kitchen.
Total savings
Research has suggested allotment owners could save an average of £950 a year by home growing. More than half of those quizzed rented a plot to save money, while a third did so to be in control of the pesticides used on their food.
Teaching children about food was another important factor. Almost a third of allotment owners found growing their own was a great way of getting the kids interested in where fruit and vegetables come from.
Extras and add-ons
Sheds and toilets are both useful additions to your allotment. A compost toilet that breaks waste down into fertiliser is a great idea. But it shouldn’t be used on vegetables, only around fruit trees and bushes.
Here’s the really amazing thing. Under the 1950 Allotment Act, it’s an allotment holder’s right to keep hens and rabbits on their plot, as long they are for private use and not for business or profit.
Eating rabbit isn’t really in fashion. But keeping hens for their eggs is hugely popular and allotment coops are a brilliant solution for people who’d love to give it a go but just don’t have space at home.
Check your local tenancy agreement to make sure it’s okay, then have a go!
Escapism
Remember, it’s not only about growing your own. It’s about setting up a shed and having an escape from home life. They can be a real bolt-hole away from the hustle and bustle of daily life.
Somewhere you can go and enjoy quality time and good conversation with your fellow allotmenteer. You’ll meet friendly people who are prepared to come and splash some water on your spuds when you’re away!
Speak to your local council in the first instance about allotment availability, and visit the National Allotment Society at www.nsalg.org.uk for more information.
Potatoes are a brilliant crop for beginner gardeners and practised vegetable growers alike. Get your own potato crop in the ground this year to start enjoying home-grown spuds!
Potatoes grow from special seed tubers instead of seeds. Buy them from your local garden centre – they have been cleared of disease and bred to produce strong, viable plants.
Types of potato
There are three types of potatoes, earlies, second earlies and maincrops. The names refer to the time they are harvested.
Earlies are the easiest to grow and take up the least space in your garden. But the other two are simple crops and will give you loads of potatoes.
When to plant potatoes
Potato crops need different planting times depending on the exact variety, but here is a rough guide.
Earlies – plant in late March.
Second earlies – plant in early to mid-April.
Maincrop – plant in mid to late April.
How to chit potatoes
You’ll need to prepare the tubers before planting by chitting them. Don’t worry, it’s not difficult! They need to sprout before they go in the ground.
Stand them rose end up (that’s the end with the most eyes) in an old eggbox on a cool, well-lit windowsill. The eyes will sprout naturally, and the tubers are ready to plant when they are about 2.5cm long.
How to plant potatoes
Potatoes grow best in sunny spots that are not prone to frost. Dig a narrow trench about 13cm deep and line it with peat-free compost, general fertiliser or even grass clippings.
Space the seed tubers about 30cm apart for earlies, 38cm for second earlies and maincrop. If you’re growing in rows, leave 60-90cm between them and plant with the shoots facing towards the surface.
Handle the tubers carefully – the shoots can be quite brittle. Press over the soil and let nature do her work.
TIP: If you’re really short of space, plant two potato tubers in a large, well-drained container (at least 30cm wide and deep).
Growing potatoes
Remember, it is vital when the shoots begin to emerge from the earth to keep them as far away from the tubers as possible.
Bank up the earth over the emerging shoots, forcing them to grow up and away towards the light. Repeat until the shoots and ensuing leaves are well removed from the tuber.
Once the potatoes have begun to grow underground, your plants will need lots of water. If you have a dry spell, water regularly or your spuds will be stunted.
How to harvest potatoes
fresh organic potatoes in the field
Early varieties should be ready to harvest from June. I lift mine when I see the flowers. With earlies you can simply dig up and eat.
Second earlies and maincrop will stay in the ground a bit longer and need a bit more attention.
Two weeks before you want to lift them, cut off the growth at ground level. This gives their skins more time to toughen up.
Harvest second earlies in July and August, and maincrop varieties from late August to early October.
Harvesting is easy with a fork – just tease them out, being careful not to spike them. Now you’re ready for some home-made chips!
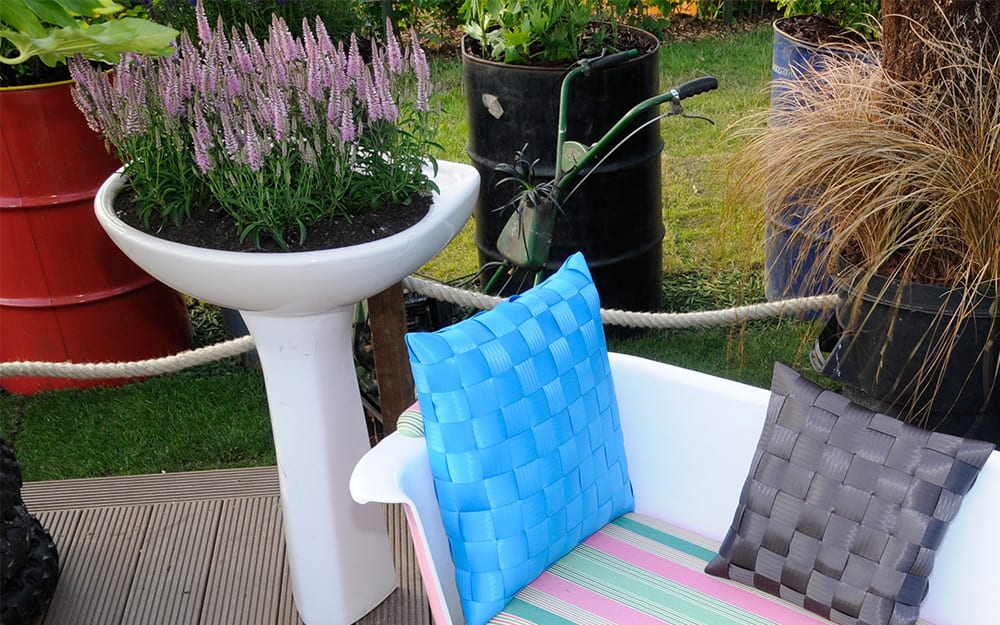
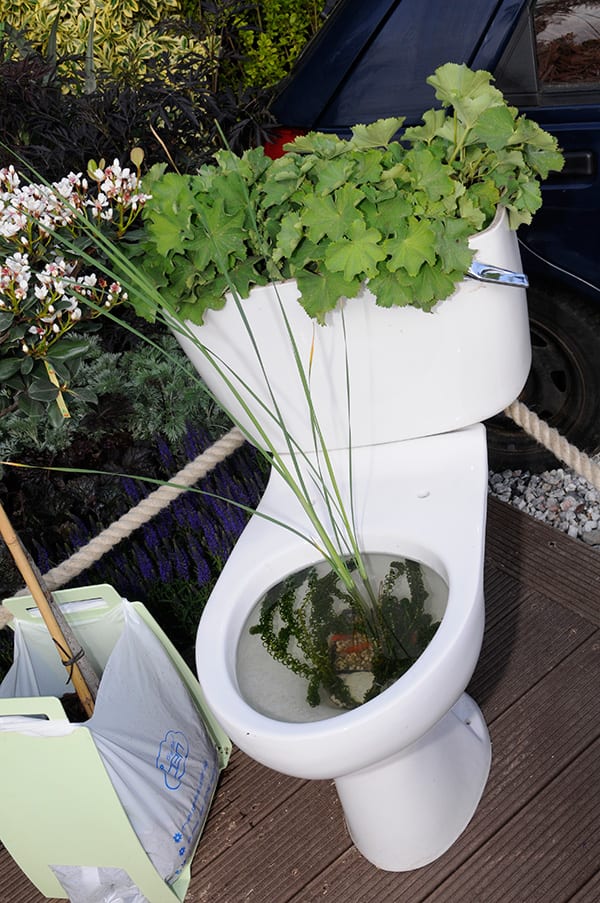
There are three reasons to turn old household objects into plant containers:
1) Recycling is good for the environment
2) They’re more interesting than your usual plastic and terracotta tubs
3) They’re free!
If you don’t have an old sink, toilet or bidet gathering dust in your garage, you can pick one up at your local tip. They make really quirky garden containers and fit in well with your border or rockery. Plus it’s a hell of a talking point at parties!
Try half-burying a sink to blend it in with the rest of your garden. Or buy feet from your garden retailer to raise your container and make it a stand-out feature on your patio.
You can keep your new container au naturel, but why not give it a faux stone look? Cover the whole surface in PVA glue and let it dry.
In a bucket, mix one part Portland cement, one part building sand and one part peat with water. Once it’s nice and viscous, smear it all over the surface of your container.
The PVA glue will help the mixture bond to the surface, while the cement mixture will dry to give the appearance of stone. This also helps plants and moss attach to the container, making it fit in better with your garden.
I planted household objects like this sink for BBC Gardener’s World Live 2009
Fill it
Before you start, move the container to its final position in your garden, because it will get heavy quickly. Now stick some rocks and gravel in the bottom to aid drainage and stop the plughole getting blocked with peat-free compost (take the plug out too!)
Then add a mixture of peat-free compost and grit, approximately two parts to one.
As always with containers, start in the centre and work outwards. Plant a dwarf conifer in the middle and surround it with a selection of alpines and bulbs.
You can then add trailing plants like ivy to run over the edges, or add a few small boulders to create a mini alpine rock garden. As a general rule for containers, better too many plants than too few. Add a sprinkling of gravel to finish.